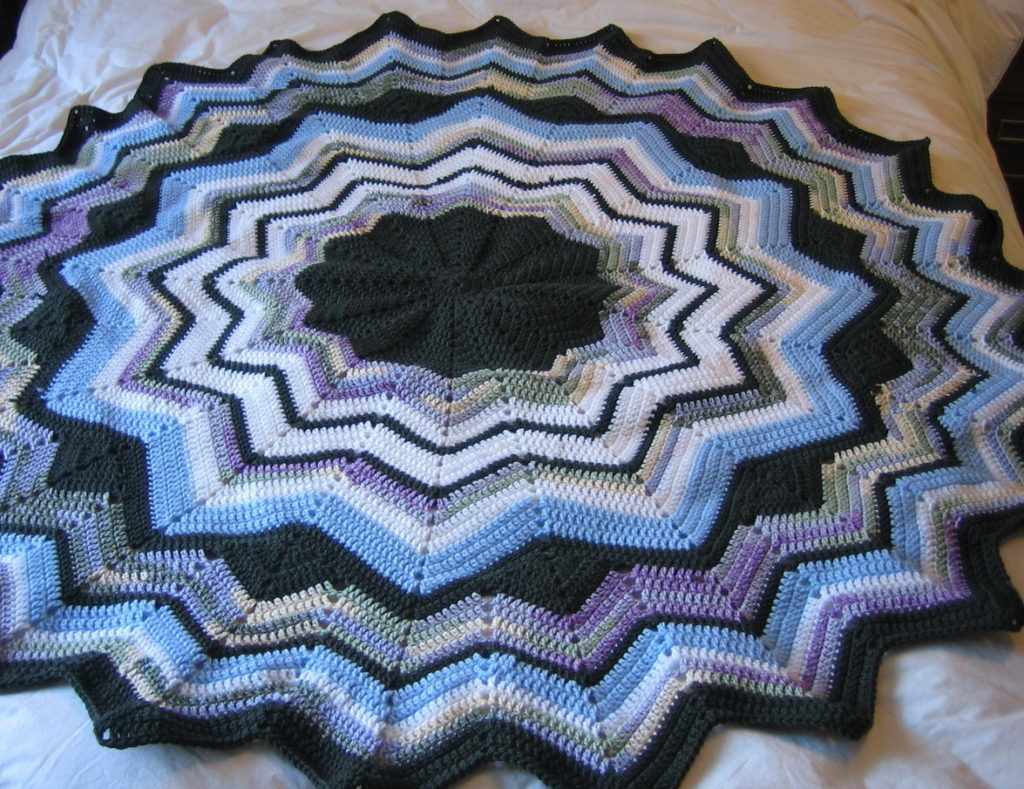
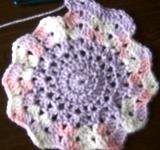
When I first searched for instructions there were many, of course, but none of them worked out for me. Finally I found this one little image that was detailed enough to see what was going on, so I followed it. I don’t know whose photo this was (found it in an internet collection) but THANKS to whoever made it!
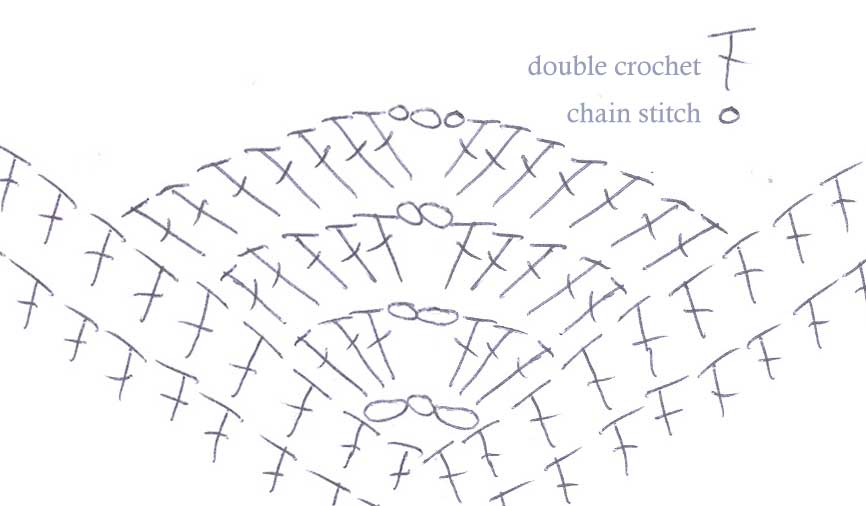
And now one better is to actually draw out a visual stitch diagram, and here we are:
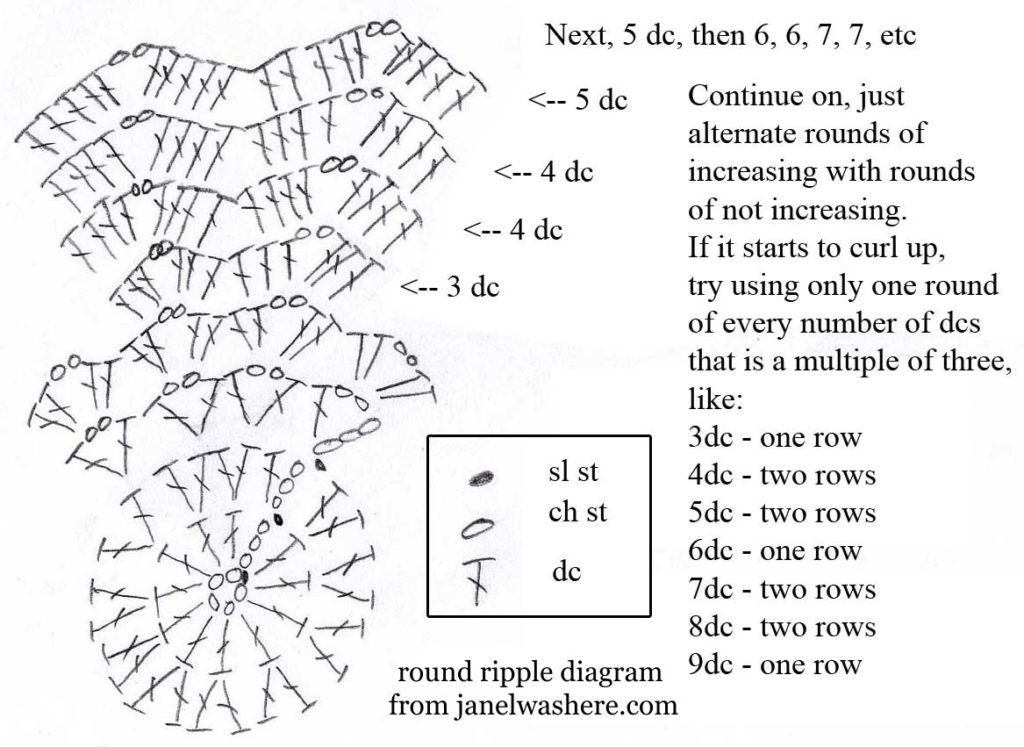
But I did alter the pattern a bit to keep it from curling up at the edges.
Instead of an increase every other round, I changed it so there were two rounds with an increase and then one without. Each round that has double crochets in multiple of three, gets only one round instead of two. The other rounds get two each.
Like this:
one round of 3dc
two rounds of 4dc
two rounds of 5dc
one round of 6dc
two rounds of 7dc
two rounds of 8dc
one round of 9dc
two rounds of 10dc
two rounds of 11dc
Etc. At least it worked for me and my very own Round Ripple is done!
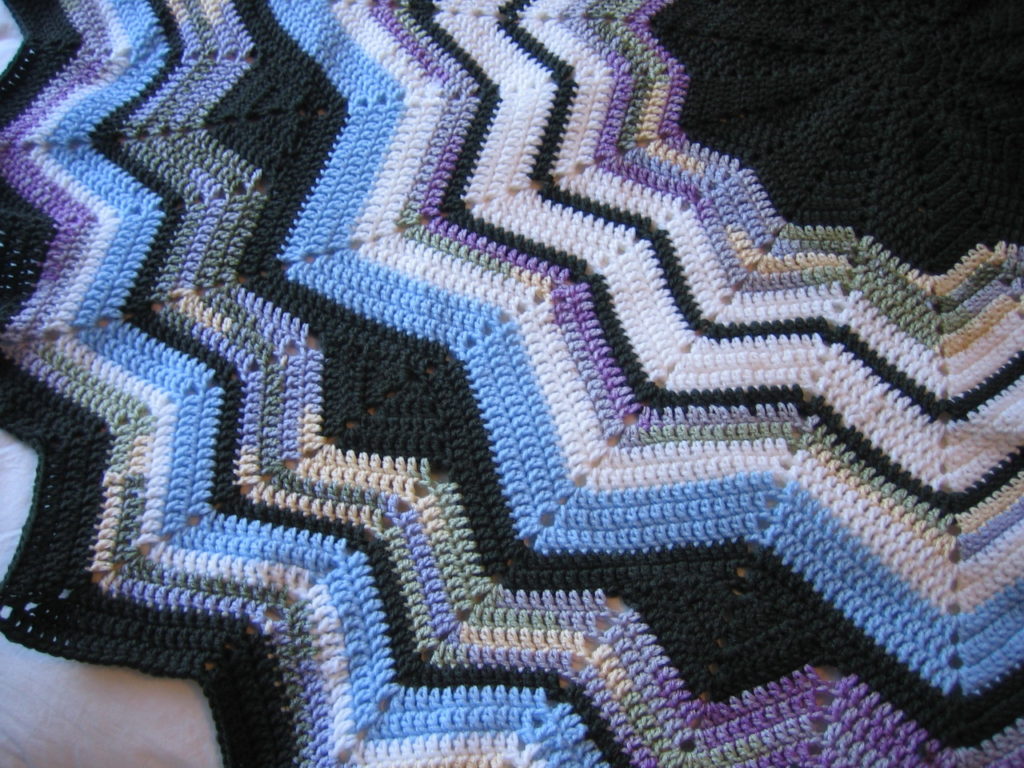
Here’s how to add the extra points. This wasn’t my idea either, but I drew the diagram for it, so here you go. This is a smaller version, meaning that it doesn’t show as many stitches as you really have. When you decide to add points, count the number of stitches you have and figure out which stitch is the middle. Then follow this pattern using as many rows as you need until the hills and valleys have even numbers of stitches again.
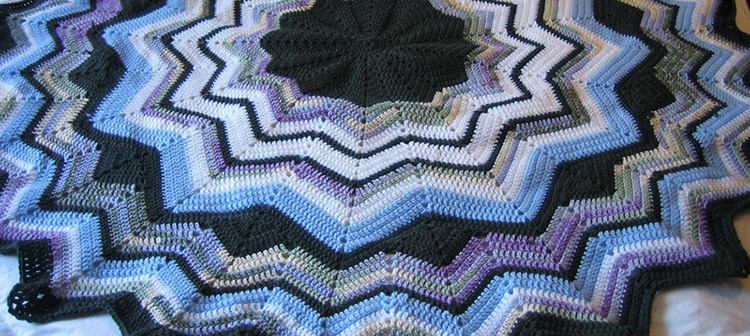
They are right, it gets really boring those last few rounds, but then it’s done and it’s so pretty, and it’s exciting to think about making another.
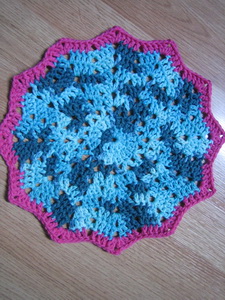
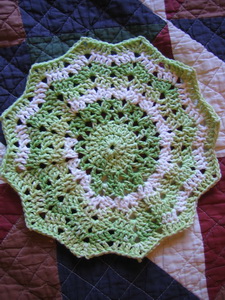
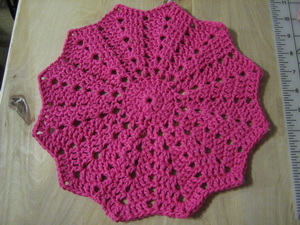
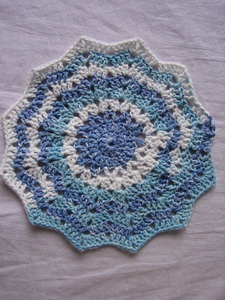
Then I used the pattern to make a bunch of ripple cotton dishcloths. They’re also great as hot pads.
The coolest ones are the ones made from the leftover bits from the others.
Increasing every other round was enough with cotton.
And I used it to make a doily using cotton bedspread thread 🙂
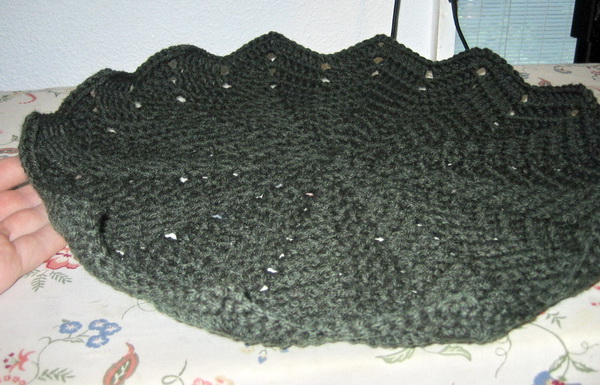
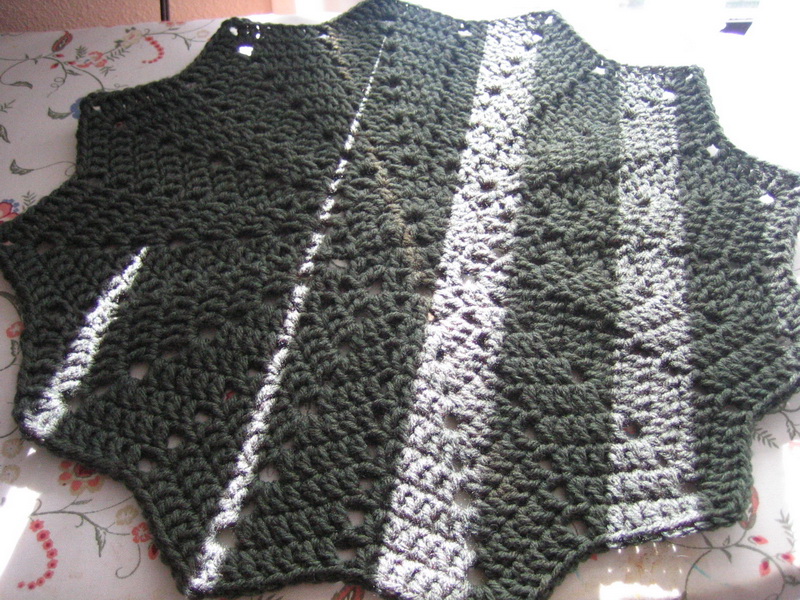
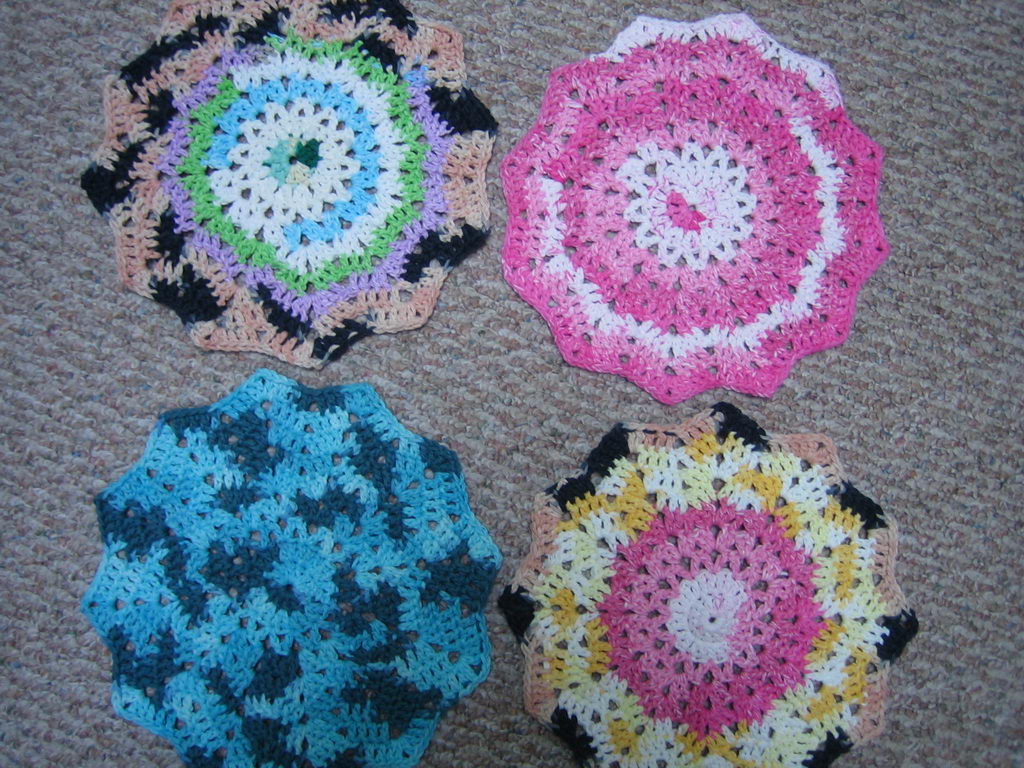
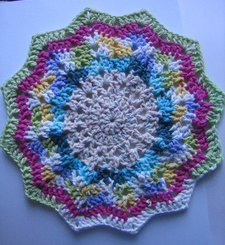
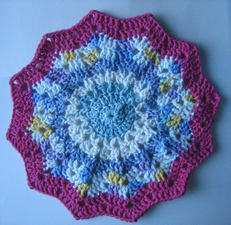
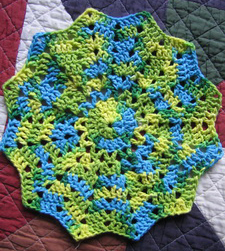
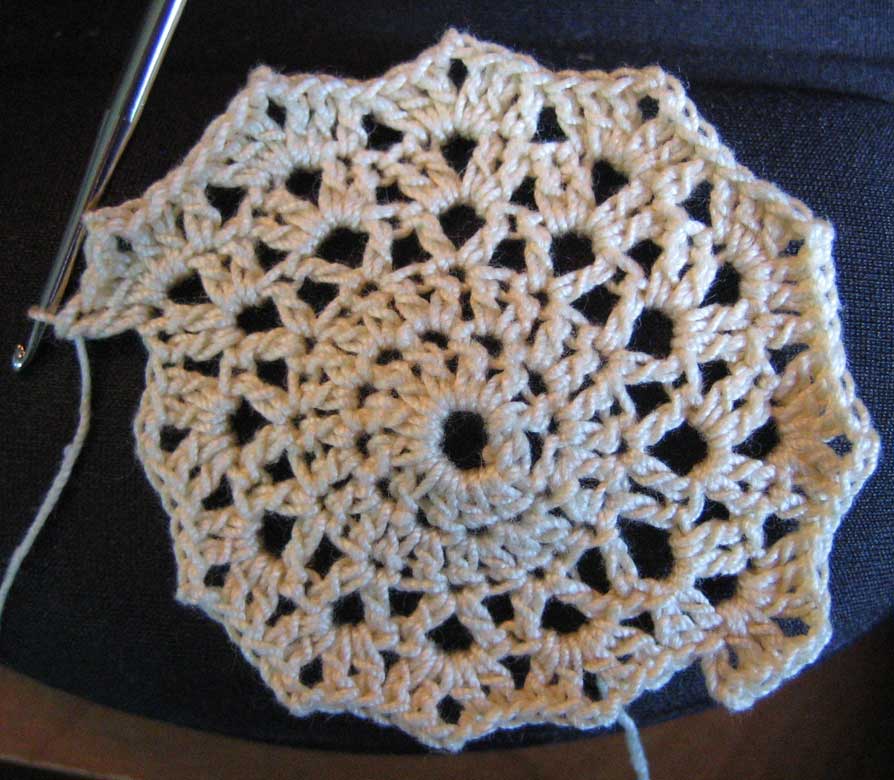
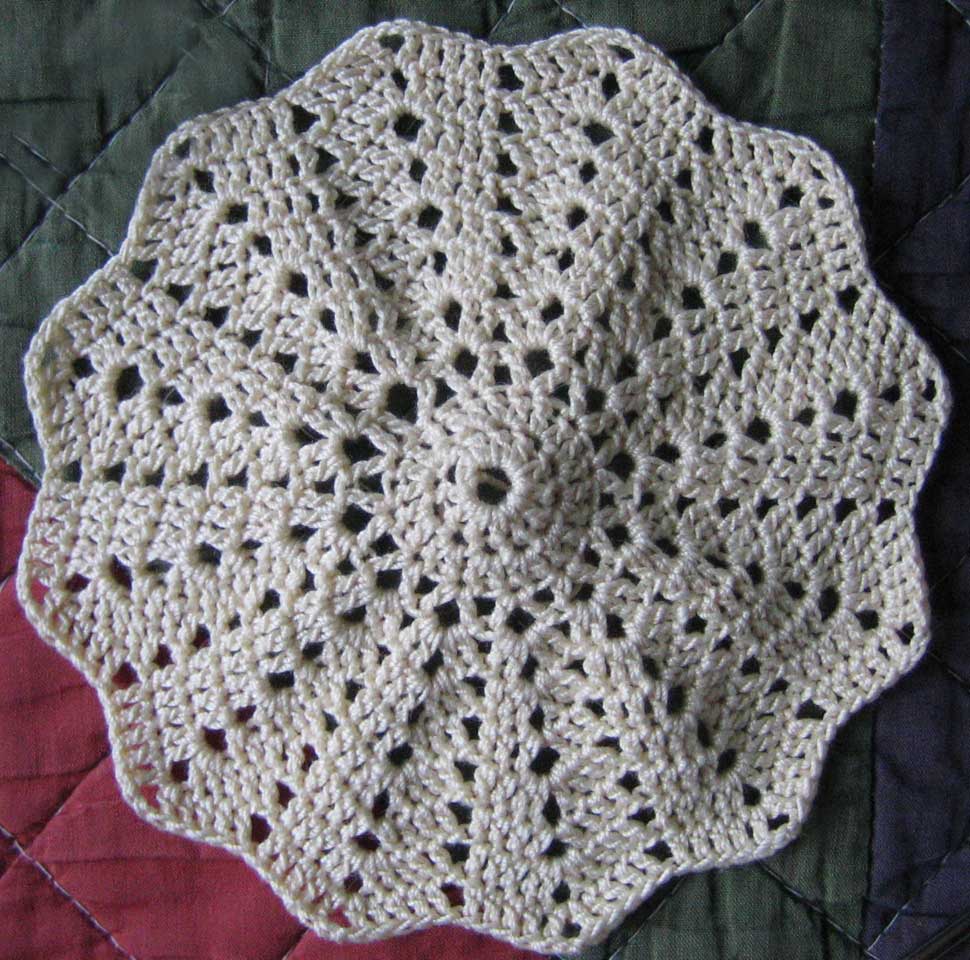
I’m struggling with the part to make new points in the valley section. I understand where to put and how many stitches to put, but how do I attach the new point to the valley? Any help would be fantastic! Thanks so much and have a great day
Well you don’t make the new point separately, you just attach the yarn to the work and start building up a point there. Maybe I don’t quite understand the problem. That sometimes happens, I know what I mean but maybe I don’t explain it quite right.