Printable sewing pattern to download in pdf form.
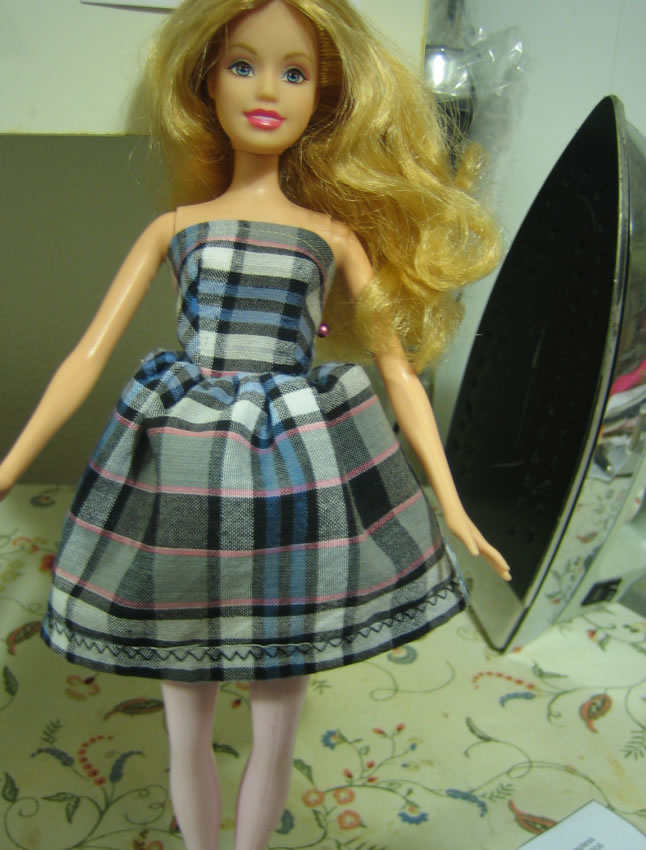
There’s one for the old 1966 vintage Mattel shape, one for 1999 Bellybutton shape (which I think is most common nowadays), one for skinny Barbie Basics and one for the 2006 shorter body which is only 11″ tall.
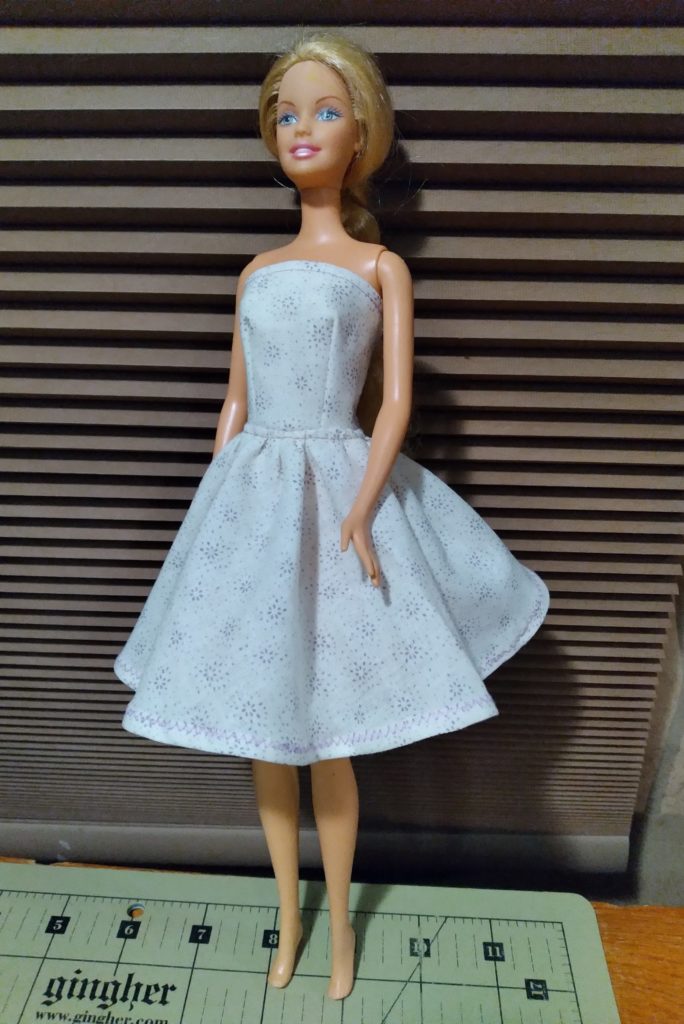
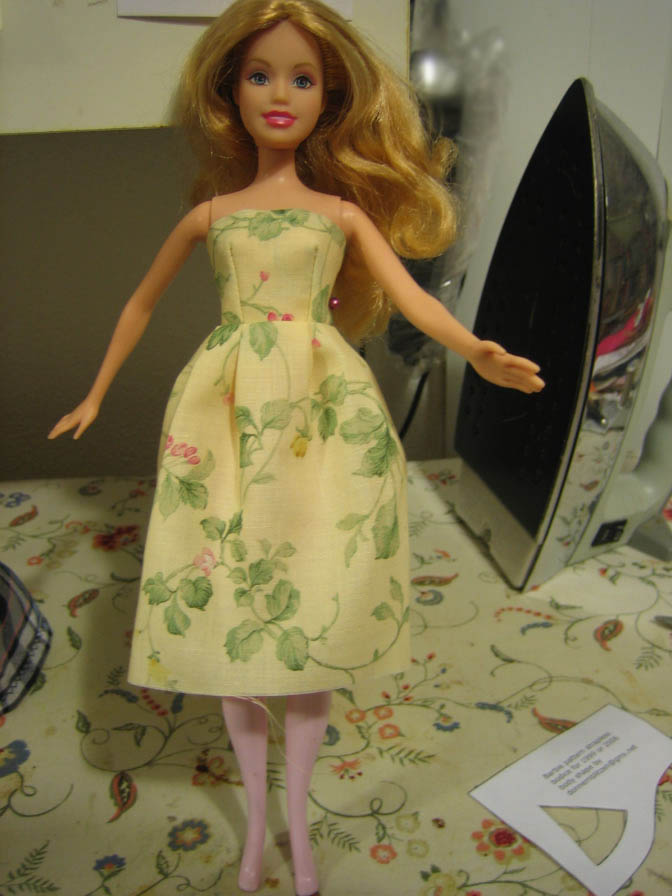
Barbie strapless bodice pattern for 1966 / original
Barbie strapless bodice pattern for 1999 / Bellybutton
Barbie Basics (ModelMuse) and 2006 shorter body
Help figuring out which shape Barbie you have is here
It’s just one pattern piece with 1/4 inch seam allowance. Remember that 1/4″ is smaller than half the average presser foot. If in doubt, make the seams smaller.
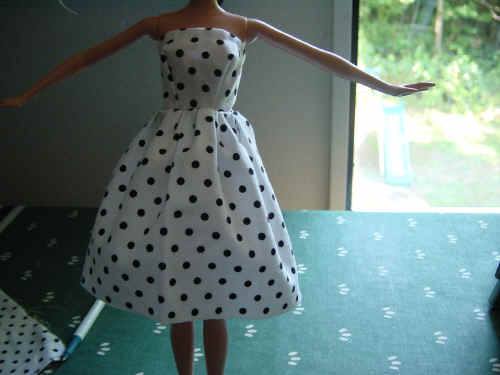
Use a gathered rectangle for the skirt, or here’s a new pattern piece to add this A-line skirt.
Instructions
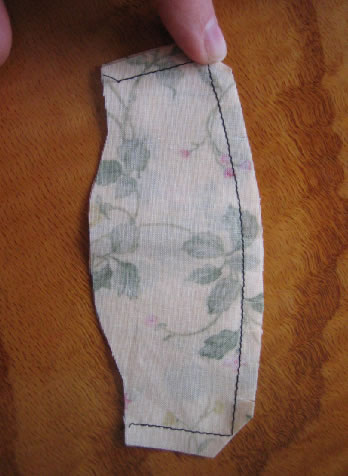
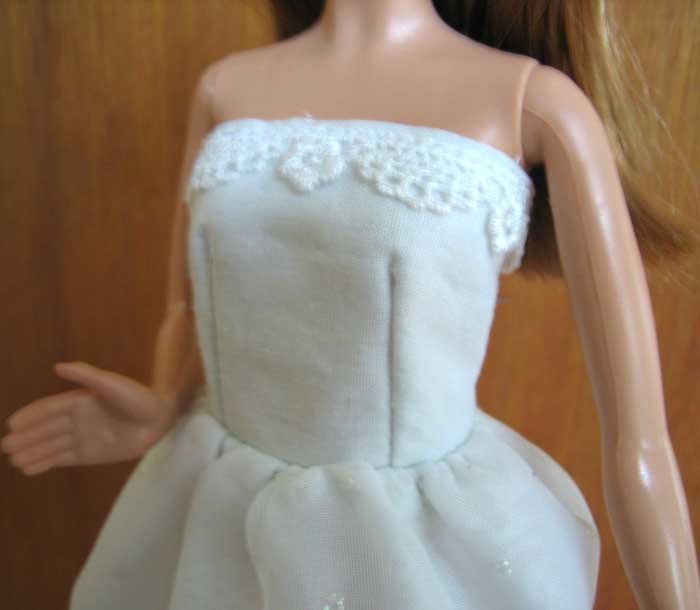
Cut two pieces, put them right sides together. Stitch 1/4″ from the top and sides, clip the corners and turn, then stitch the darts.
(Or, for a smoother interior, stitch the darts on both pieces first, then sew the two pieces together.)
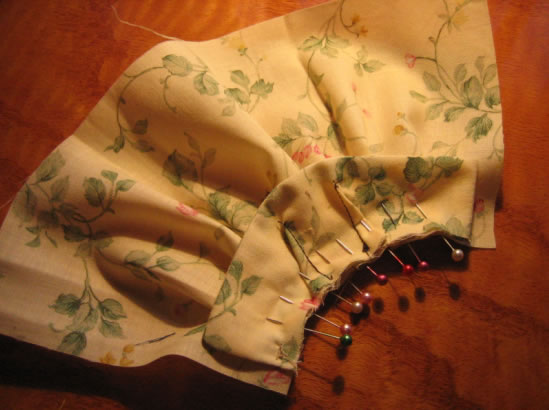
A rectangle for the skirt, leaving a bit on each side to fold over and hem. Then add velcro on the back.

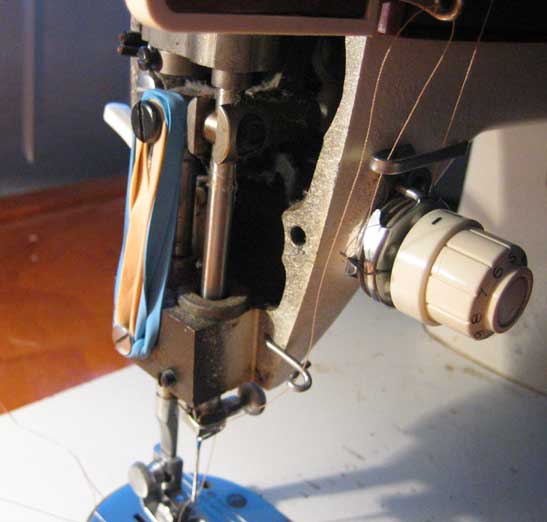
This is the sewing machine that used to make these. It’s a Singer made in Mexico in the eighties. The foot was pressing so hard that it was impossible to sew, and it wasn’t adjustable, so I took the spring completely off and wrapped rubber bands around there instead. It presses just enough!
I also later removed everything electric and strapped the hand wheel to a treadle base. At first I hated that machine– the first one I ever bought and a poor choice– but after doing that much modification to it I’m quite affectionate about it!
Thanks for the creativity and your talent … FIESTA 🙂
I keep using your pattern for making clothes for my niece/great nieces as they grow up to that stage. Is the velcro just for the back of the bodice. You dont mention joining the back seam so I wondered if the velcro was for the full dress. Could make it easy to put on the dress for kids, I guess.
Any idea if the dolls have changed sizes since 2008. I always am operating blindly as the kids are all over the blind and I have just an ancient Barbie to try it out on!
I usually put the velcro all down the skirt. Might have a look at these instructions, https://www.janelwashere.com/barbie-best-fashion-friend-strapless-dress-pattern/
Yes, there are new Barbie bodies out there, notably the four Fashionista shapes including the Curvy, Petite, Tall etc.
I’ve been thinking of designing a basic dress that would fit all of them, and every time I think about it brings me one step closer to actually doing it. The world needs such a thing.
Not my best work … I still struggle with darting.. but a good pattern.. thnx