All patterns are Adobe pdf for free download and printing. They print out onto sheets of 8.5 x 11 printer paper which you tape together then cut out. Be sure they print out at 100% size not “scale to fit” the paper.
The skirts can be made any size you need by using whatever number of gores it takes to get the waistband the size you want. A gore that’s 6″ across the top will come out about 5.5″ (it’s easier to use narrow seams when you’re matching two contrary curves) so if you need the top of the skirt before gathering to be 44″ you’d use eight gores. If you use elastic, allow enough width to pull up over the hips.
(A “gore” is one of the lengthwise strips of a skirt. An eight-gore skirt has eight vertical pieces with seam lines from waist to hem.)
Most of this material is from 2009. The more recent skirts and dresses are new posts.
Ruffled swirly skirts have always been my thing. When I was little I always wanted my dresses to have big skirts to twirl.
I found a couple excellent tutorials (links now defunct) on how to draft your own spiral skirt pattern piece, but only to produce an A line result. I wanted something closer to full circle, like the Redondo Farbenmix but without layers. Something simple and mathematically circular, like a barber pole or candy cane, except flaring.
My first attempt was complicated.
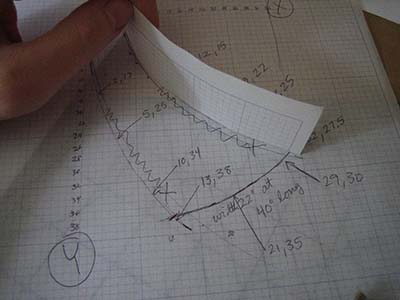
Then, instead of using a grid to enlarge, I thought of using Adobe Illustrator. It’s a great improvement over pencil and string! The instructions said to use string to make sure both sides are the same length. I don’t need to, Illustrator can tell me if the two line segments are the same length!
Then I can tile the pages, print a few lines on a bunch of sheets of typing paper, a moment to put the puzzle together and there we are.
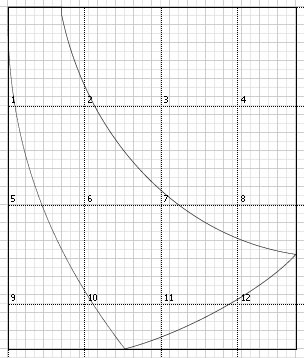

This is SO FUN. My delight level is right off the chart.
I had decided on a 6″ top for each skirt panel. Allowing 1/2 inch for the seams (1/4″ from both sides), that comes out 5″ each panel. I want a pull-on elastic waist, so I basically use the hip measurement for the top width of the skirt. By the time it gets down to the hips, it will be wider. Hence:
7 panels x 5″ = 35″ top tier
8 panels x 5″ = 40″ top tier
Etc.
I had gotten as far as taping the pages together to make the pattern when I realized 1) this is going to waste huge amounts of fabric and 2) it’s more of a gentle curve like the major brand commercial patterns, which are nice but also not what I had in mind.
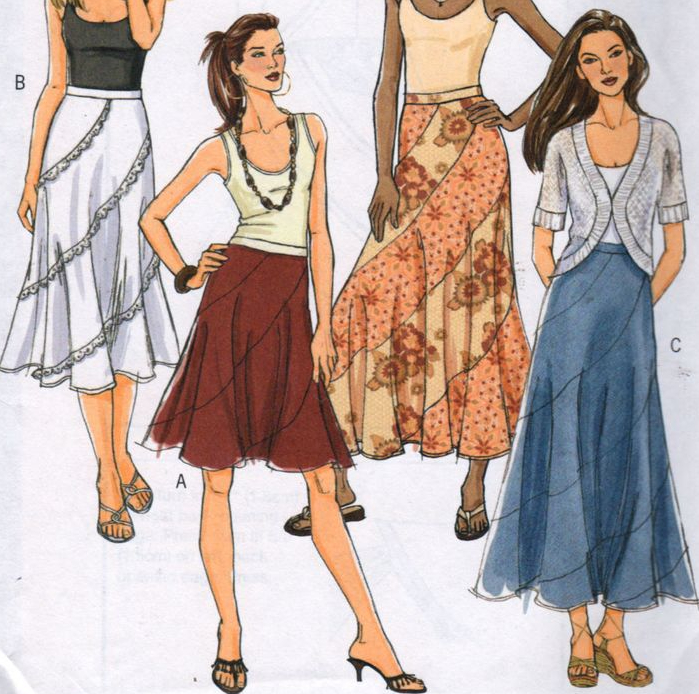
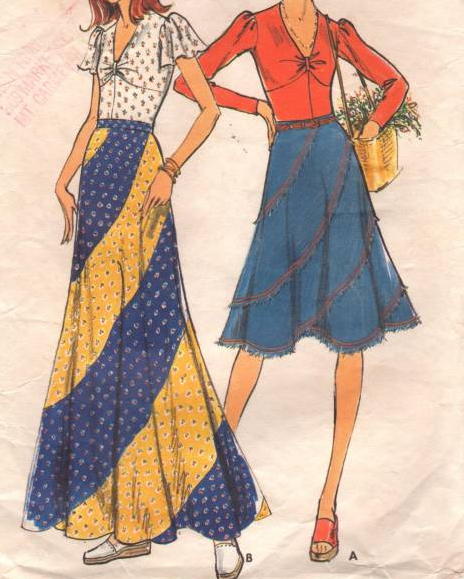
I might as well share that pattern piece I made in case someone else wants it. Maybe it’s just what you had in mind. Here it is and if you use it, I’d love to see a picture —
Spiral Skirt 1
A gently-curved, conservative swirler shape.
Here’s the file for download with 6″ tops to the pieces for making a skirt, or Here it is with an 8″ top which works with the raglan bodice you’ll see in a moment to make into a dress– the raglan top pieces are each 8″ at the waist.
Here’s the test dress I made with it. One photo it’s inside out and I’ve highlighted the seams, otherwise they’re too hard to see.
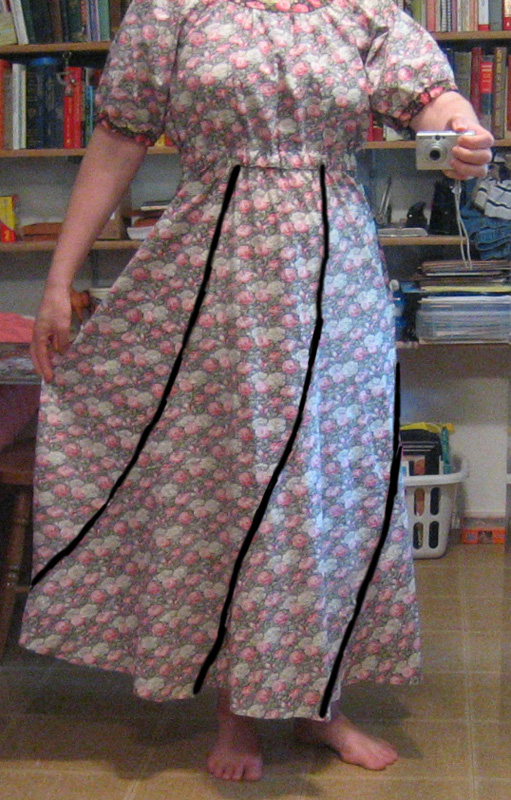
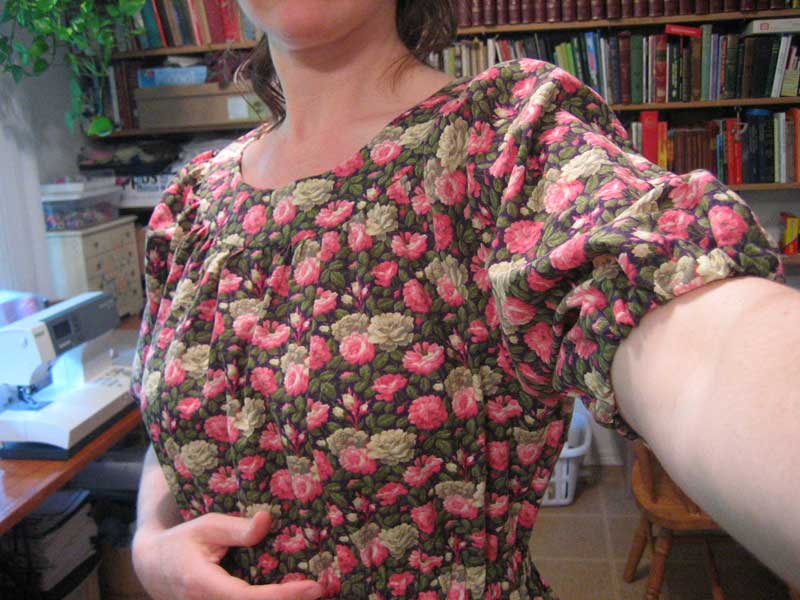
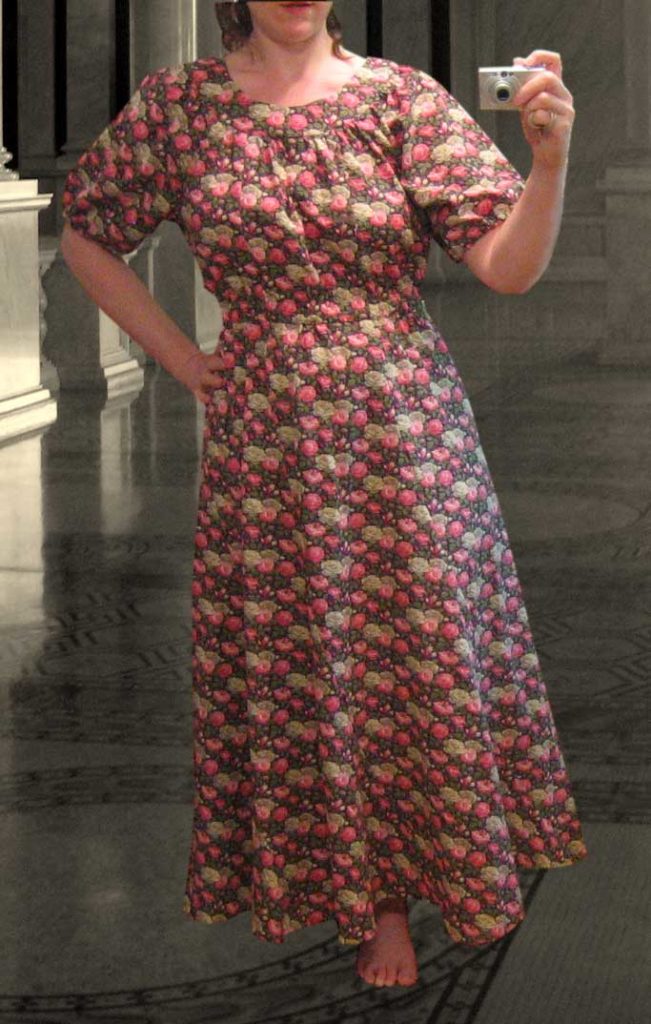
I was absolutely in the Library of Congress for one of those pictures, not my regular sewing room with my junk behind me like the other two.
Fabric requirement for this dress would be 4 and 2/3 yards– in theory according to Illustrator!
See how I figure it out in IL? I fit the pieces into a 44″ wide box and see how long the box needs to be! It says it’s 163 inches. For a two-color arrangement it would be 89″ for the color that the sleeves are made of, and 73″ of the second color.

Spiral Skirt 2
Trying for more RUFFLES. I attempted a single hand-drawn shape from top to tip, then “Illustrated” it.
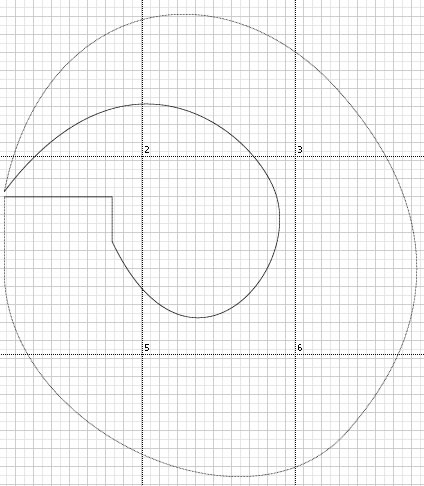
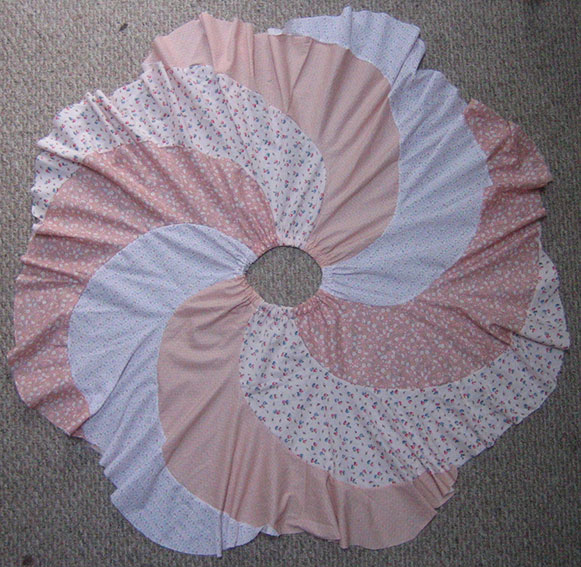
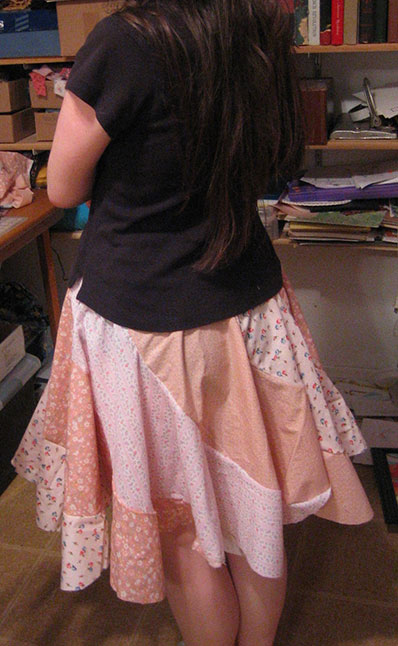
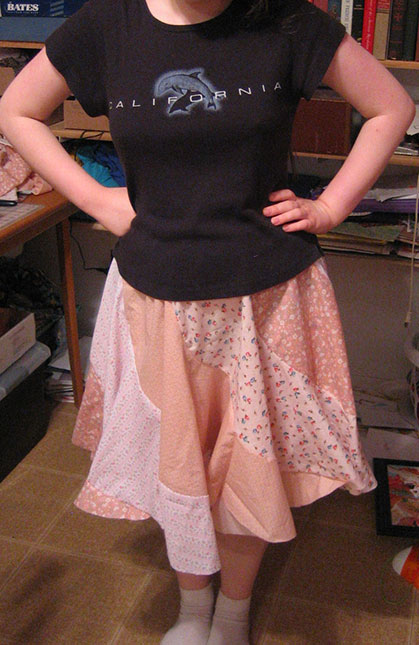

Now we’re getting warmer.
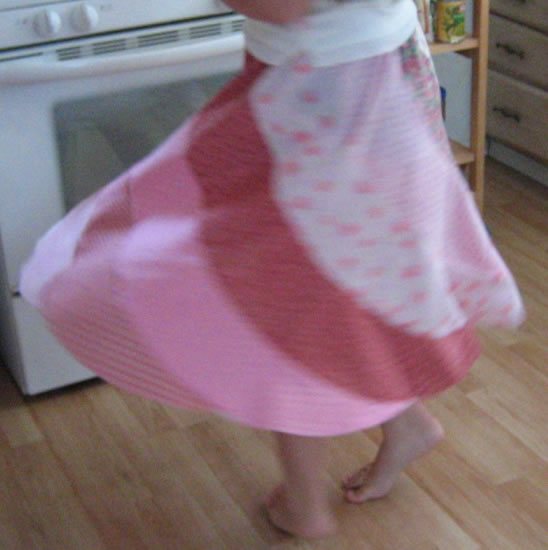
The pink skirt was made with the first draft wobbly hand-drawn pattern piece. The red one was the same shape but perfect lines made in AI. The red one’s inside-out so you can see the seams.
It comes out quite short and very twirly, only 20-22″ long (uneven hemline) including the waistline casing. So that would work for little girls. Each gore is cut in one piece and requires a 25″ x 23″ piece of fabric.
Spiral Skirt 3
I went back and took another look at the second link’s way. The lady on Craftster (link doesn’t work any more) provided an image of her pattern piece, but I thought I’d try it more nicely Illustratorily rounded, so I took some circles and made this:
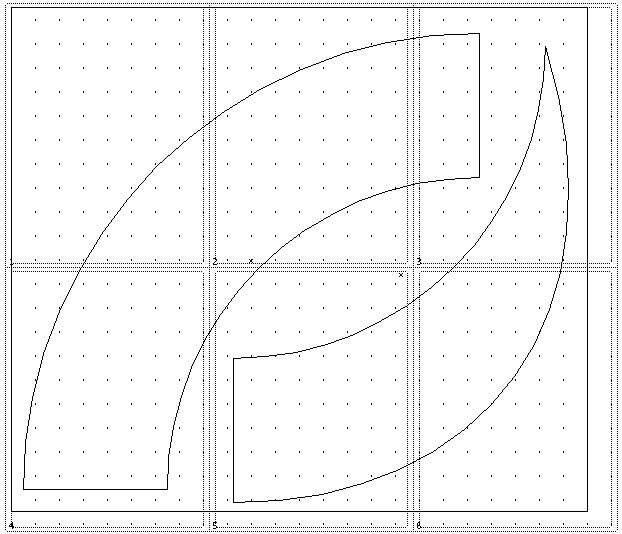
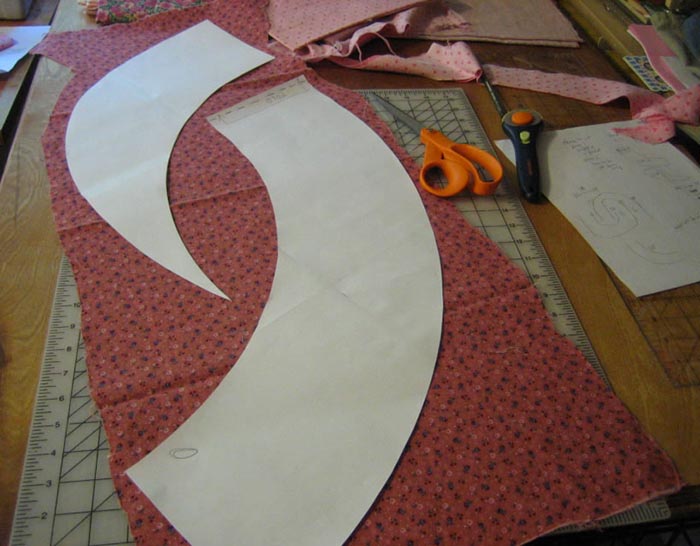
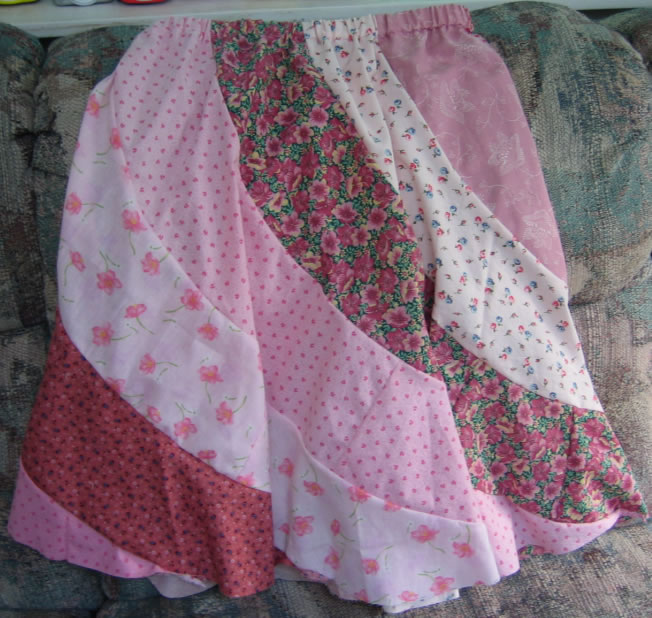
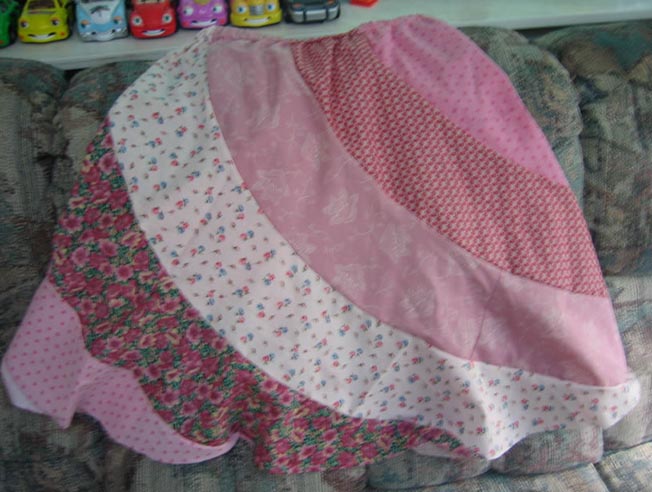
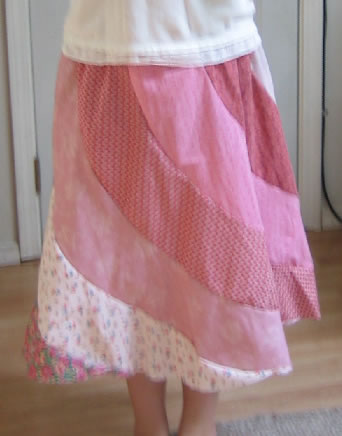
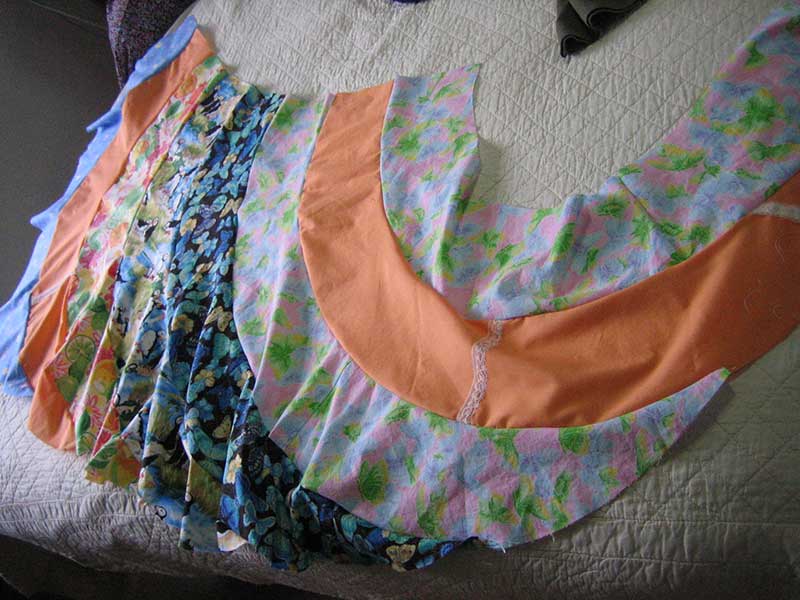
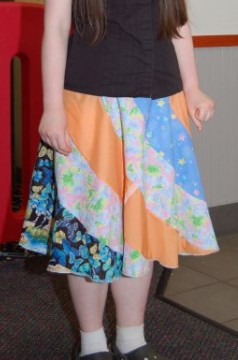
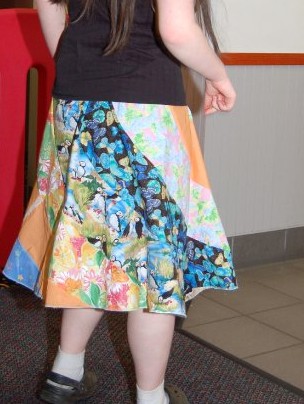
This is for a girl size and the finished length is 25″ long. My daughter loved it!
HERE is the printable pattern (6 inch top)
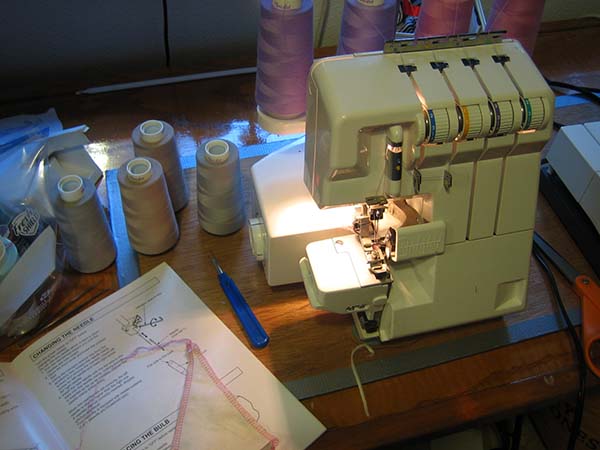
I received a serger as a gift. I had never had one or even seen one in use, so there was a certain fear factor about threading it. Twenty minutes of studying the book (do you know you have to thread these things with long tweezers??) and there we go.
What did I ever do without it? Fear turns to glee and the spiral has a hem.
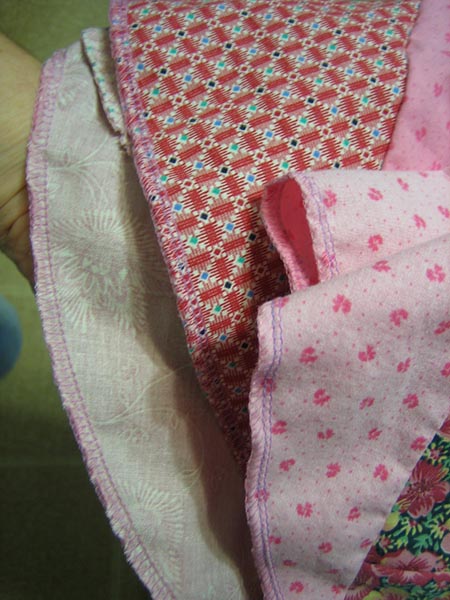
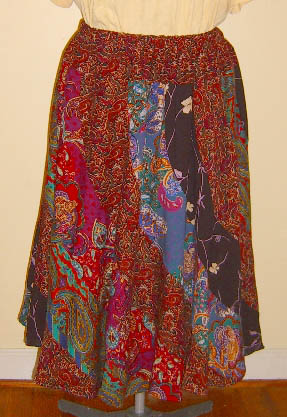
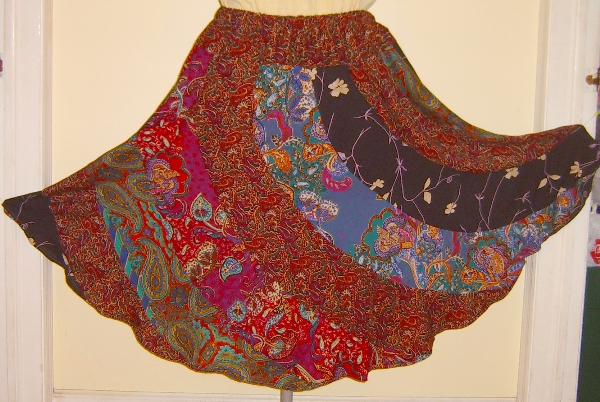
Here are photos sent in by reader Julie, who says, “I added a 6″ strip at the top to make it longer, and lined it. Looks great! I used scraps of rayon, georgette, and one of those big challis scarves that was popular in the 80s. Thanks so very much for posting the patterns; I’ve been wanting one of these for many years!!”
Thank you to Julie for sending pictures of her project!
Spiral Skirt 4 / Dress
Skirt shape from basic segments of a circle, with lots of sections to string together before sewing the gores up.
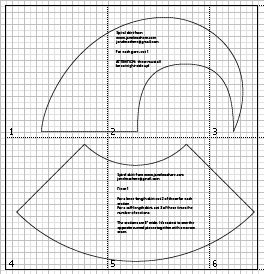


I tried using four sections and one tip per gore. Adding more sections makes it longer but due to the spiral design, the extra fabric gets absorbed into ruffliness and doesn’t add as much to the length as you might expect.
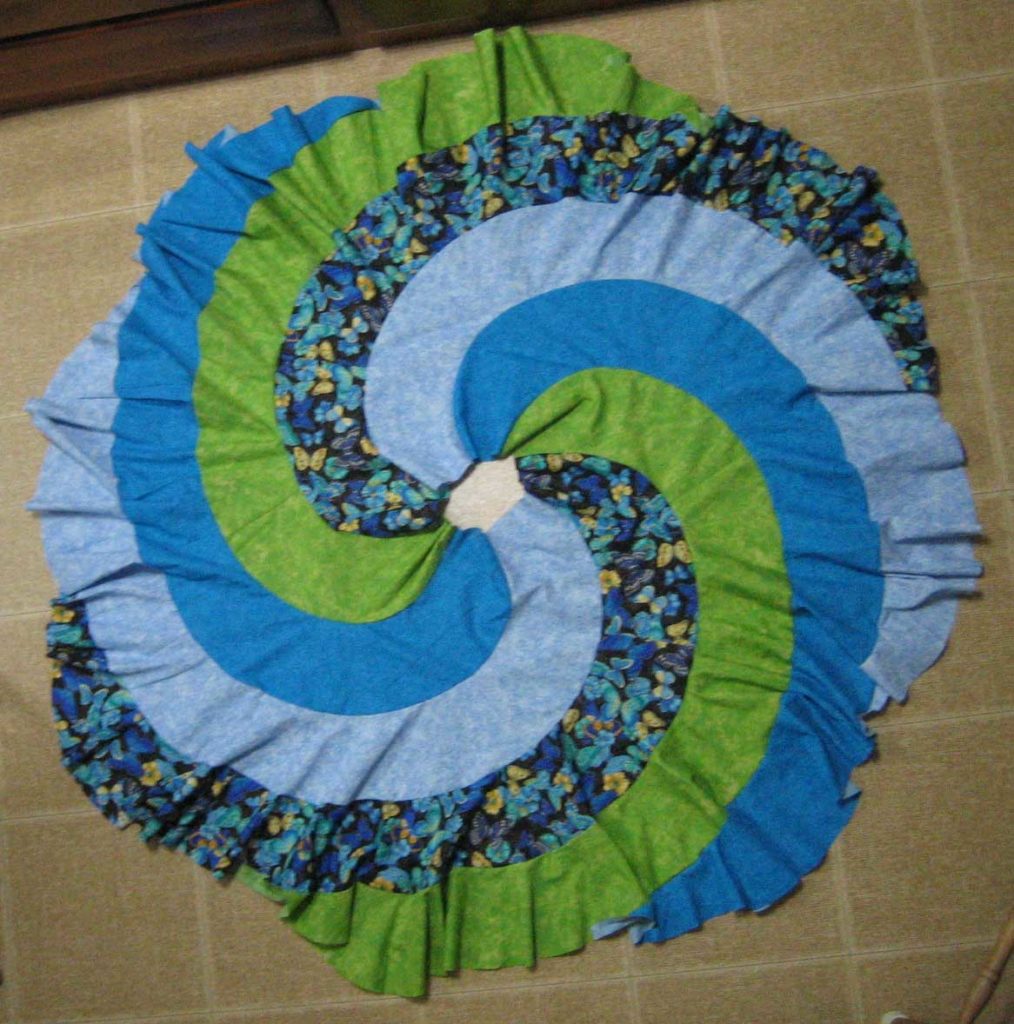
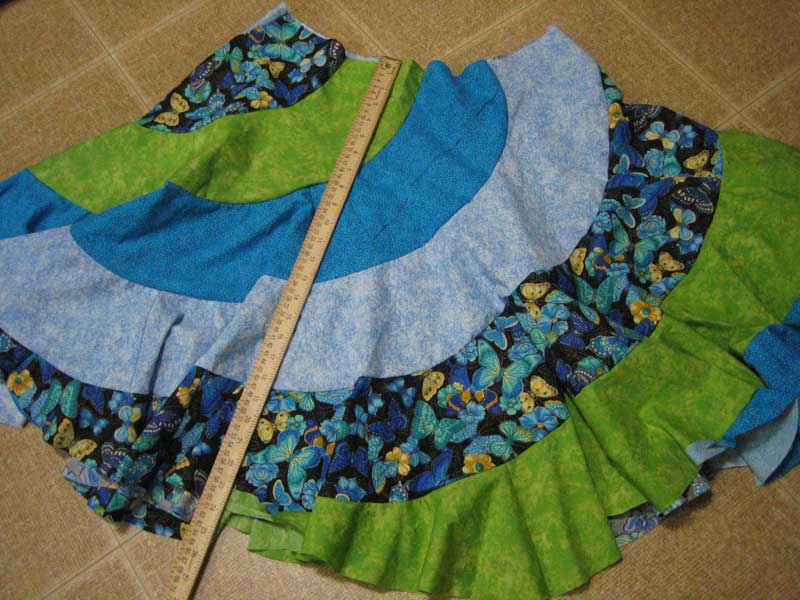
My first try came out beautiful, but only 24″ long! (Oh and here’s skirt 4 with the 6″ wide gores)
Then inspiration went another way.
Long ago I came across a spiral dress, like princess seams but given a spin. I was fascinated with that diagonal effect. “How to make one of those?” became something to think about before falling asleep.
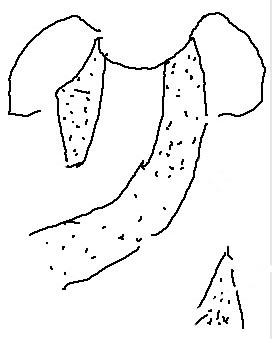
I used the top of my peasant dress pattern cut into thirds, and here’s that file
I adjusted those sections to all be 8″ then made Skirt 4 to have 8″ wide sections to match
To make one like this you need to print both files. I’d call it size medium. I’m 38-30-42 and you can see how it fits on me. Skirt comes out an uneven 27″ long, using three top sections and one point per skirt gore.
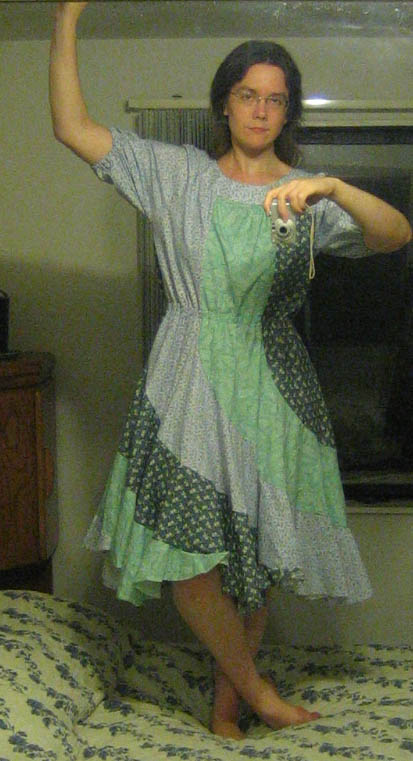

To sew, start by stitching the six sections to make the front and back bodice and the sleeves together at the top, then gather them and attach to the yoke like any sensible raglan top.
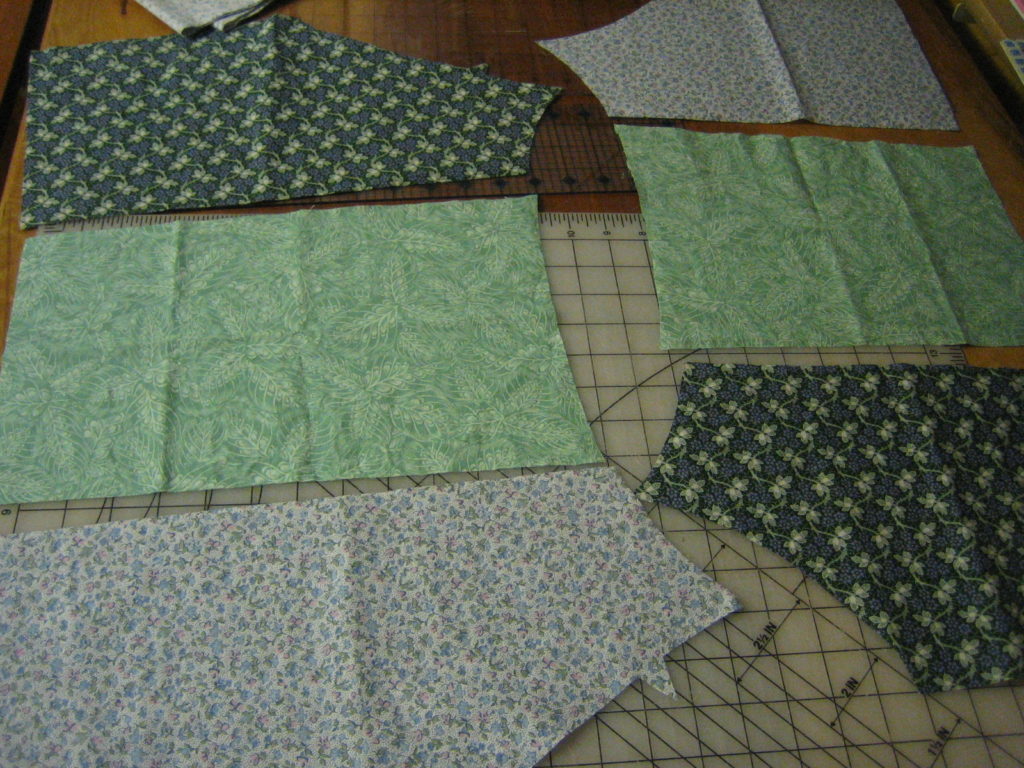
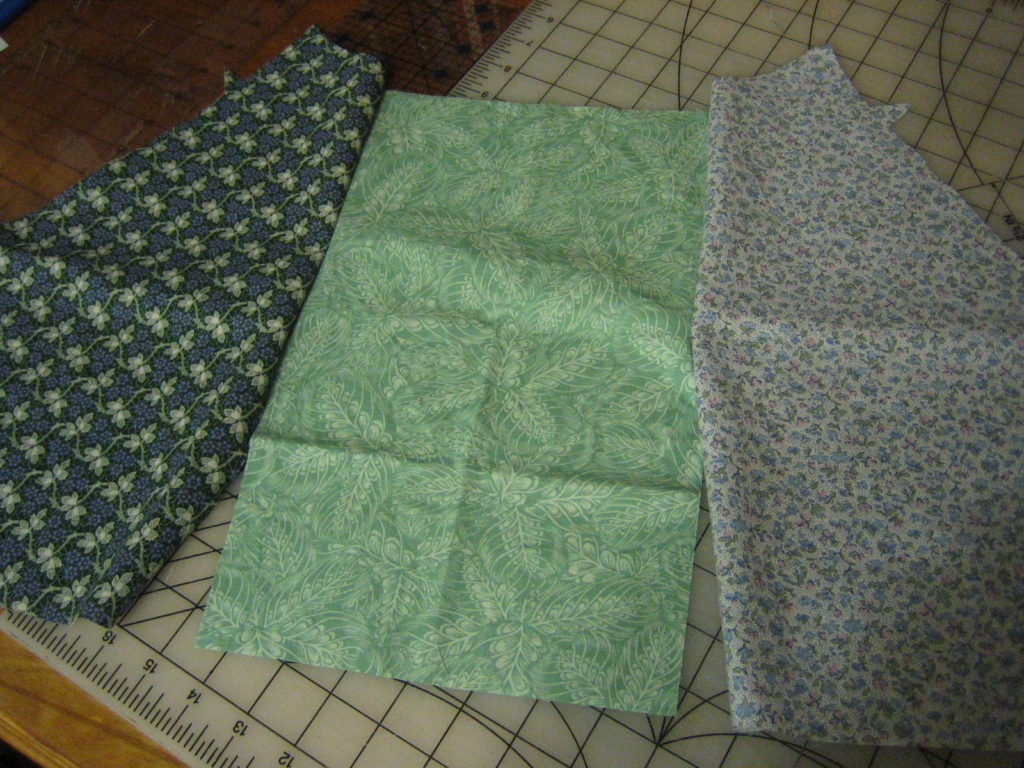
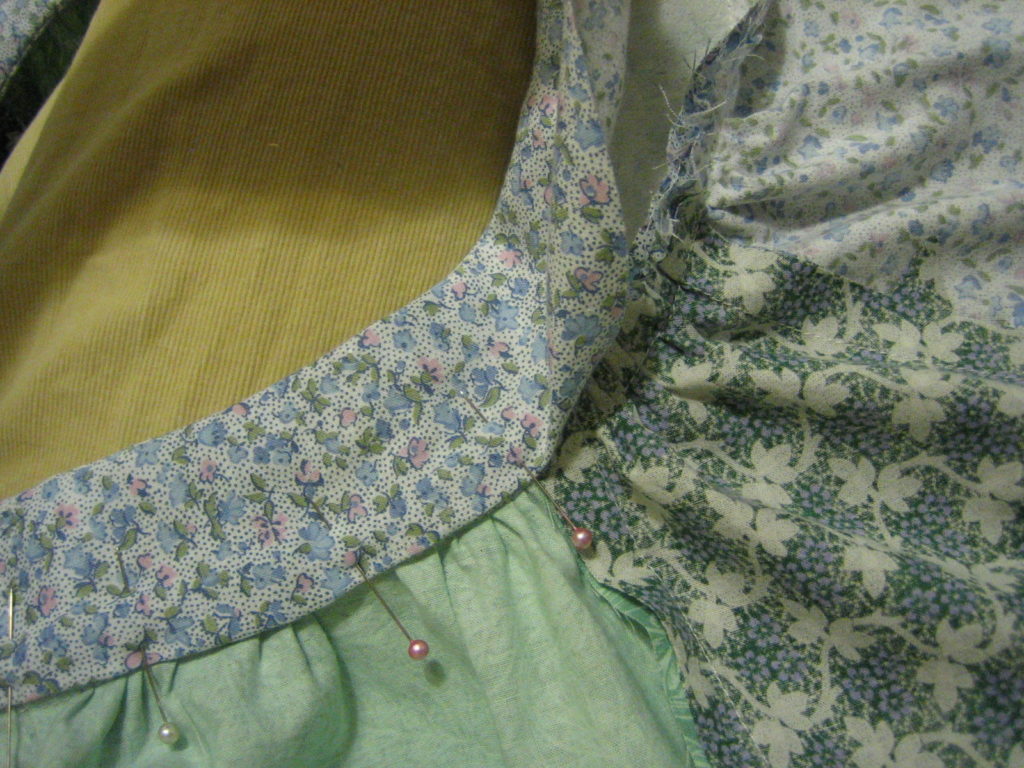
Once the top part is finished, then join a skirt gore to each section at the waistline. It hangs down very long at that point! Then sew the gores together down to the hem.
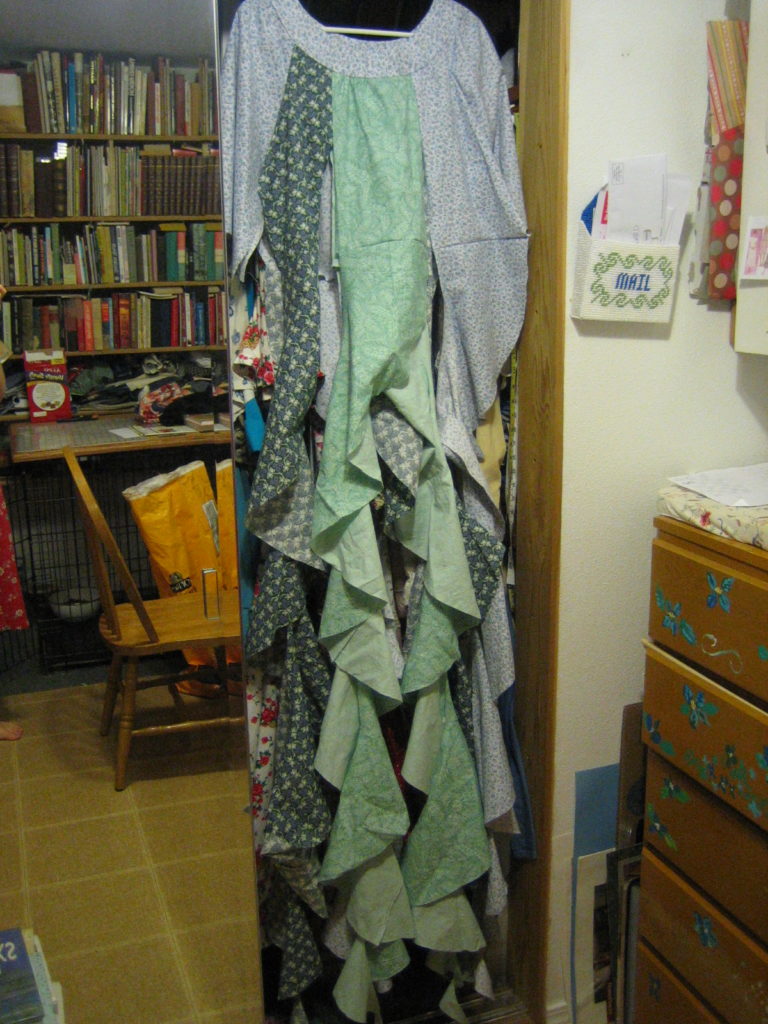
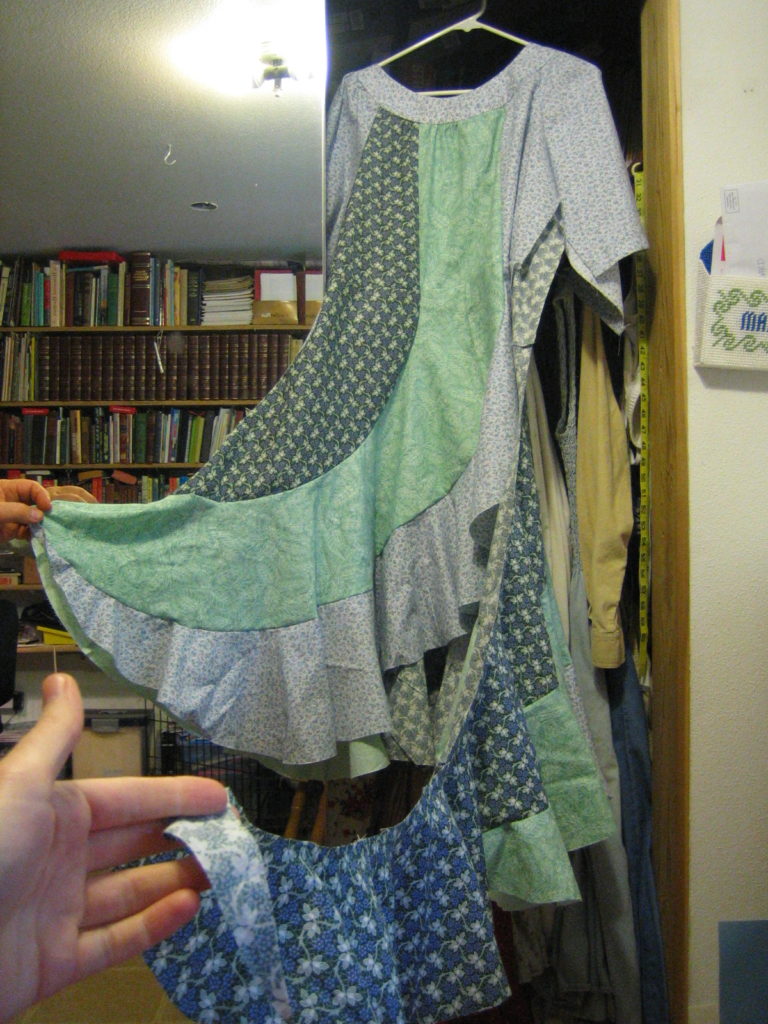
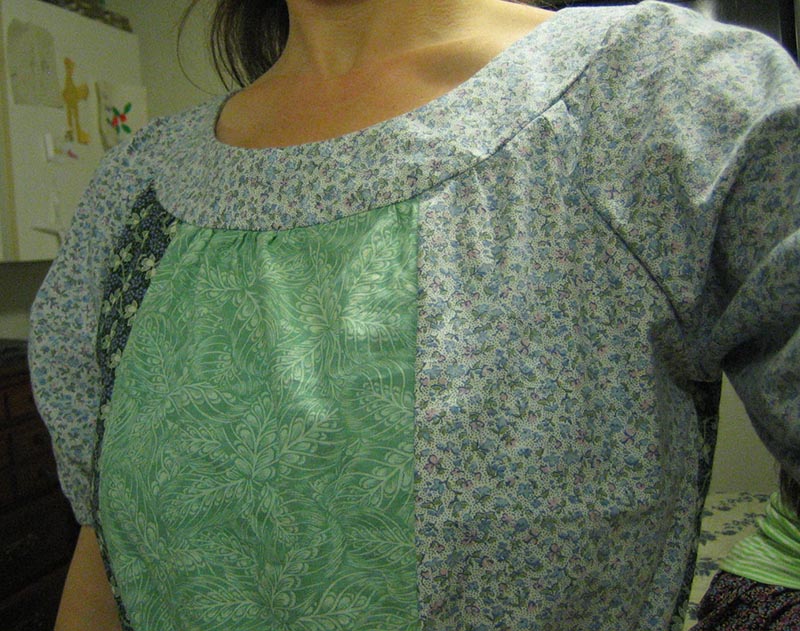
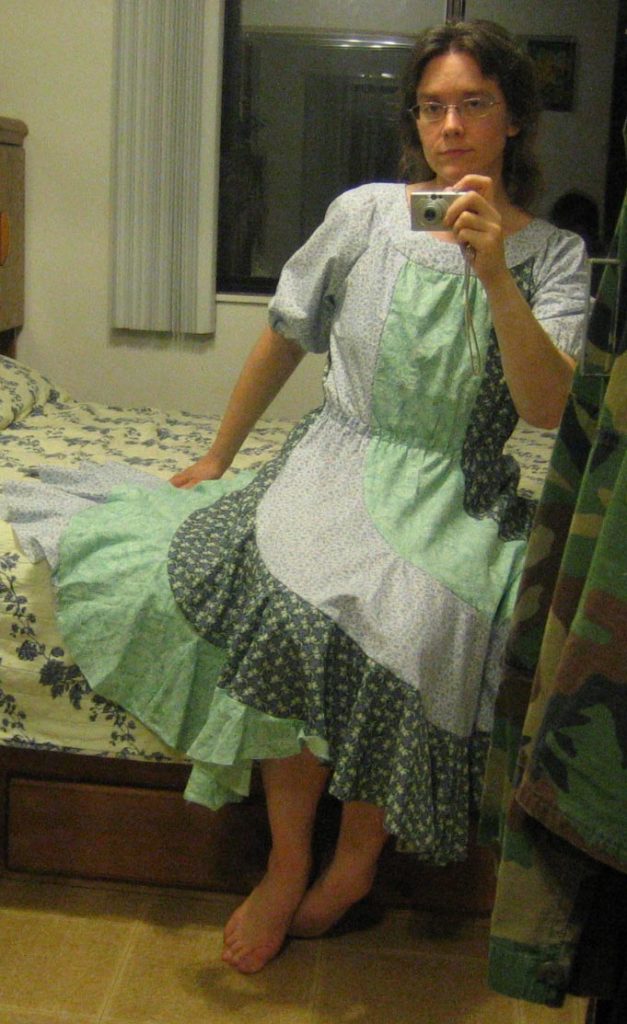
Combi – Skirt 3 and 4
The beautiful blue and green skirt from above needed to be salvaged.
At 24″ long, it’s simply too short for me. If only someone’s little daughter needed a ruffle skirt. If only all those seams would unpick themselves! After some thought, I realized I have a secret weapon. The little buddy would be glad to do it for five bucks.
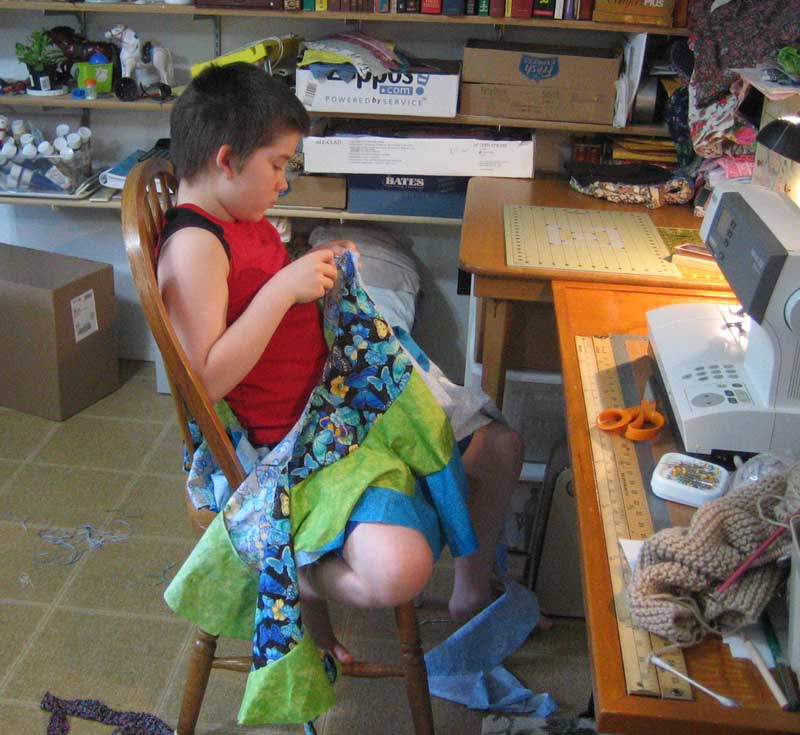
Once I had the gores apart, I added a panel each from skirt 3, which is a gentler curve. Then put it all together again and it was perfect. I’m glad I did because I really like these colors!
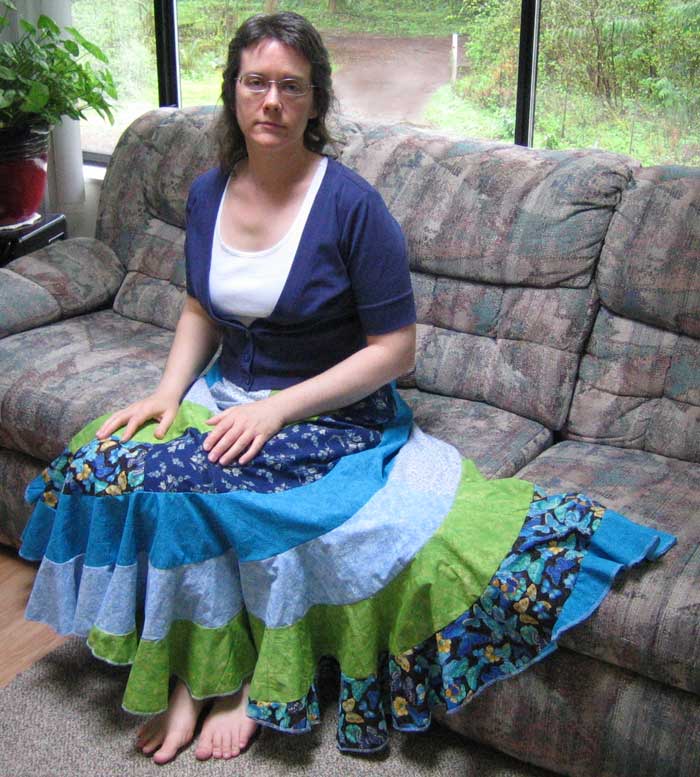
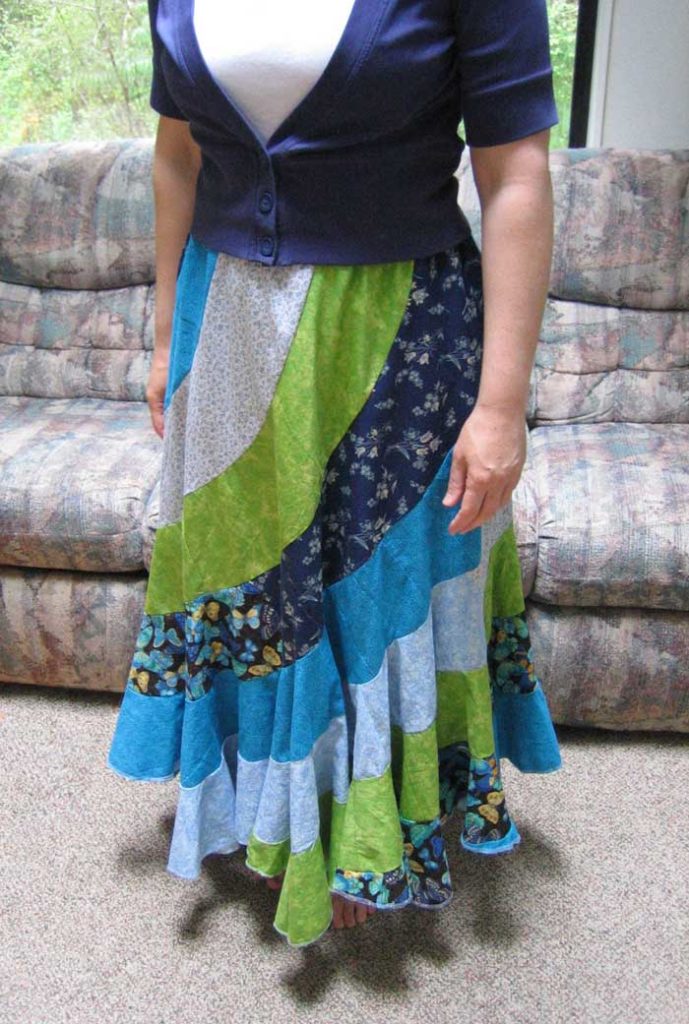
SUMMARY of how to make this exact skirt– each gore is put together using ONE section from skirt 3, then FIVE sections from skirt 4 with the 6″ wide option, finished with the tip.
Remember you can cut out some of the sections together if you have plenty of fabric.
Hi Janel, I came across your swirl skirt instructions on Pinterest. Your skirts and dresses are amazing! I was actually looking for a swirl skirt but as a wrap skirt. That wouldn’t be too difficult, would it? Once I have the skirt layed flat, I could just cut it through and make a wrap skrit, no? I’m thinking of converting my dad’s old light blue shirts into such a skirt, what do you think? Will that material be too stiff?
If I manage, you will get a photo!
Best regards
Susan,
Bruxelles, Belgium
Thanks, so kind of you! A skirt made out of different blues would look really pretty!
I’ve never tried it, but cutting up through a skirt to make a wrap skirt sounds doable. You could add another couple gores to allow extra width. Have fun!
Thank you so much. I have seen these skirts and have yet been able to recreate the pattern. Side not really haven’t given it my time. Thanks for all your work providing this for free. Your skirts are stunning. You look great. Thanks again. Thankful recipient.
Ваши юбки просто чудо! Огромное спасибо за выкройки и комментарии к моделям. Вы талантливый и щедрый человек! Здоровья Вам и творческих успехов.
Thank you!
The dresses are so lovely! I love your choice of fabrics! Your description and pattern are so very detailed, thank you so much for putting in so much work and share it with everyone! I will definitely try to make one myself in the future!
Your site is lovely, and I plan to make the skirt! Thank you for the pattern!
Fantastic! this came up when I searched swirl skirt on google. Great instructions. appreciate this would have been so much work.
Love the child labor! What a genius idea. And I love your skirts n dresses, god bless sister. From an old lady with the heart of the little girl who loves to twirl
I tried to email with my questions but it bounced back. I’m having trouble understanding the 3-4 swirl skirt, what pieces go where. I have both patterns.
Mostly I wanted thank for your generosity in sharing both your patterns and your process.
One gore is one panel or strip all of the same color. So take one “skirt 3” piece, that’ll be at the top (waist), and sew five “skirt 4” pieces to it, then a “skirt 4” pointed tip. That makes one gore. Sew the gores together working from the waist down.
I’m wondering where you found my email address that didn’t work, so I can fix it. I’ll email you.
the papers I printed from this post was” janewashere@gmail.com
on one of the pattern pieces I think.
I guess what I didn’t get was which skirt 3 piece and which skirt 4 pieces
Thanks again for your help.
Did you find the skirt 4 piece with 6-in top? I actually don’t know where the link went and I just put a new link. Sorry I have been kind of off-grid for a while here.
I checked some of the files and I don’t see the misprinted email address, can you tell me which one it was?